The Tilta Swift works for skein sizes up to about 80”.
I bought my gripper pad, clothespins, and heavy-duty plastic hangers at the dollar store, and the 4-inch-square box from The UPS Store. Ace Hardware has the Rubbermaid Lazy Susan for $7, or you can get a beautiful bamboo Lazy Susan for $10 at Target. If you have to buy everything, it's about $13 plus tax. (I already had the Lazy Susan, hangers, elastic, clothespins, and gripper pad, so I actually spent less than $1.50, just for the mailing box.)
Materials
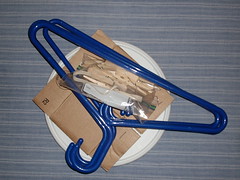
4 heavy duty plastic hangers, $2
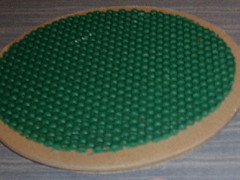
1 gripper pad, $1 for four (you only need 1)
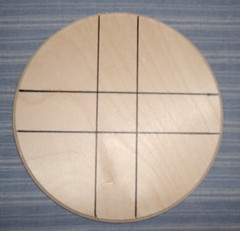
1 Lazy Susan, $7
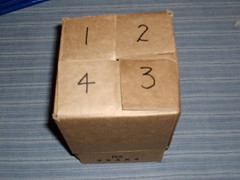
4"x4"x4" mailing box from USPS or UPS store, about $1.25; this is the specialized equipment.
1/2 yard 1/4" elastic, cut into two 9" pieces, less than $1
12 spring-loaded clothespins, less than $1

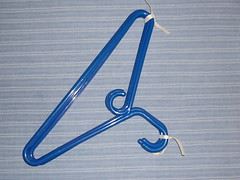
Step 1: Use the elastic to tie the hangers tightly together in 2 spots.


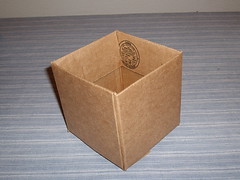
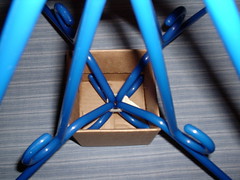
Step 2: Fold the box. Do the “flap-1 over flap-2”, “flap-2 over flap-3”, “flap-3 over flap-4”, “flap-4 over flap-1” thing for the bottom of the box. Fold the top 4 flaps into the box. Notice how sturdy this turns out, and at the same time notice how nicely this will fold back down when you need to put it back into your knitting bag.
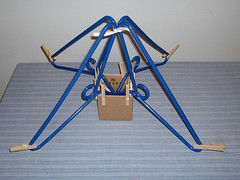
Step 3: Fan out the hangers, and stuff the tied hanger necks into the box.
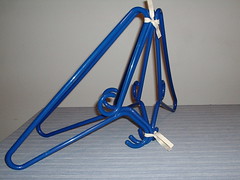

Step 4: Put 2 clothespins at each box corner. This stabilizes the clothes hangers.
Step 5: Hang 4 clothespins at the end of the 4 hangers. This keeps the yarn from slipping off the clothes hangers.
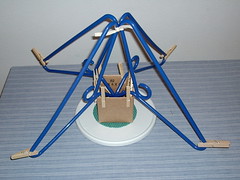
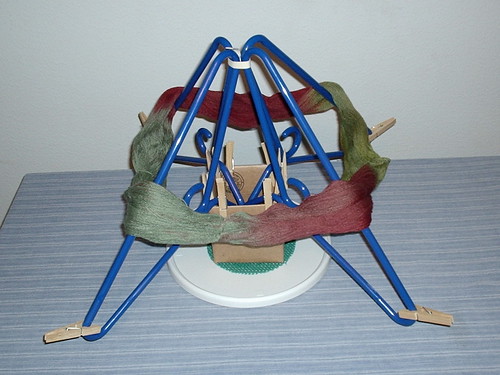
Step 6: Stack the hanger assembly on the gripper pad on the Lazy Susan. (The gripper pad and gravity keep the hanger assembly in place.)
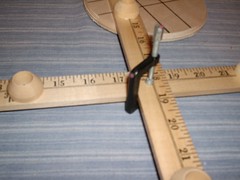
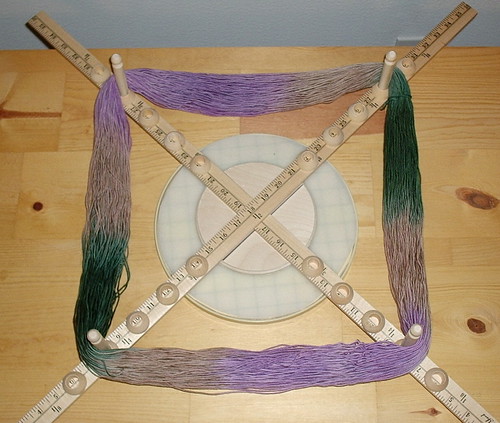
The first picture shows a 60” skein
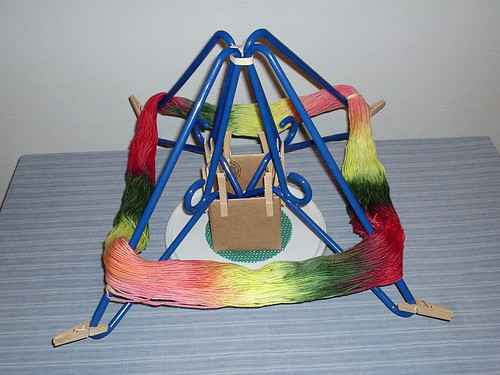
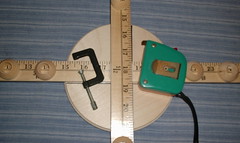
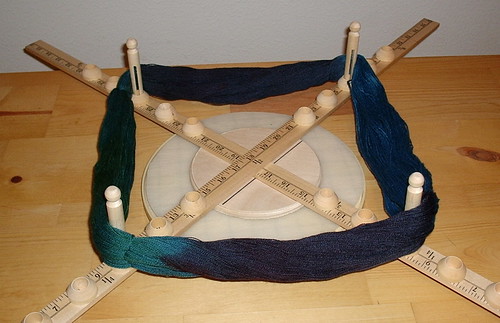
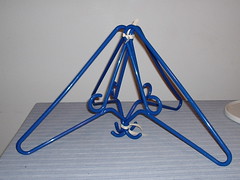
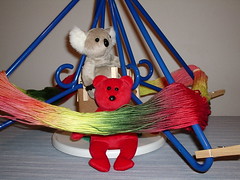
The second picture shows a 46” skein.
Overachievers Step 7 (Optional): I dunno, maybe hang micro sock monkeys from it. I leave this entirely up to inspiration. (Am I the only one whom this reminds of a carnival ride?)
All rights reserved. No part of this blog, either text or image, may be used for any purpose other than fair usage review or personal use. Thank you!